

The first steps to home fermentation
The first steps to home fermentation
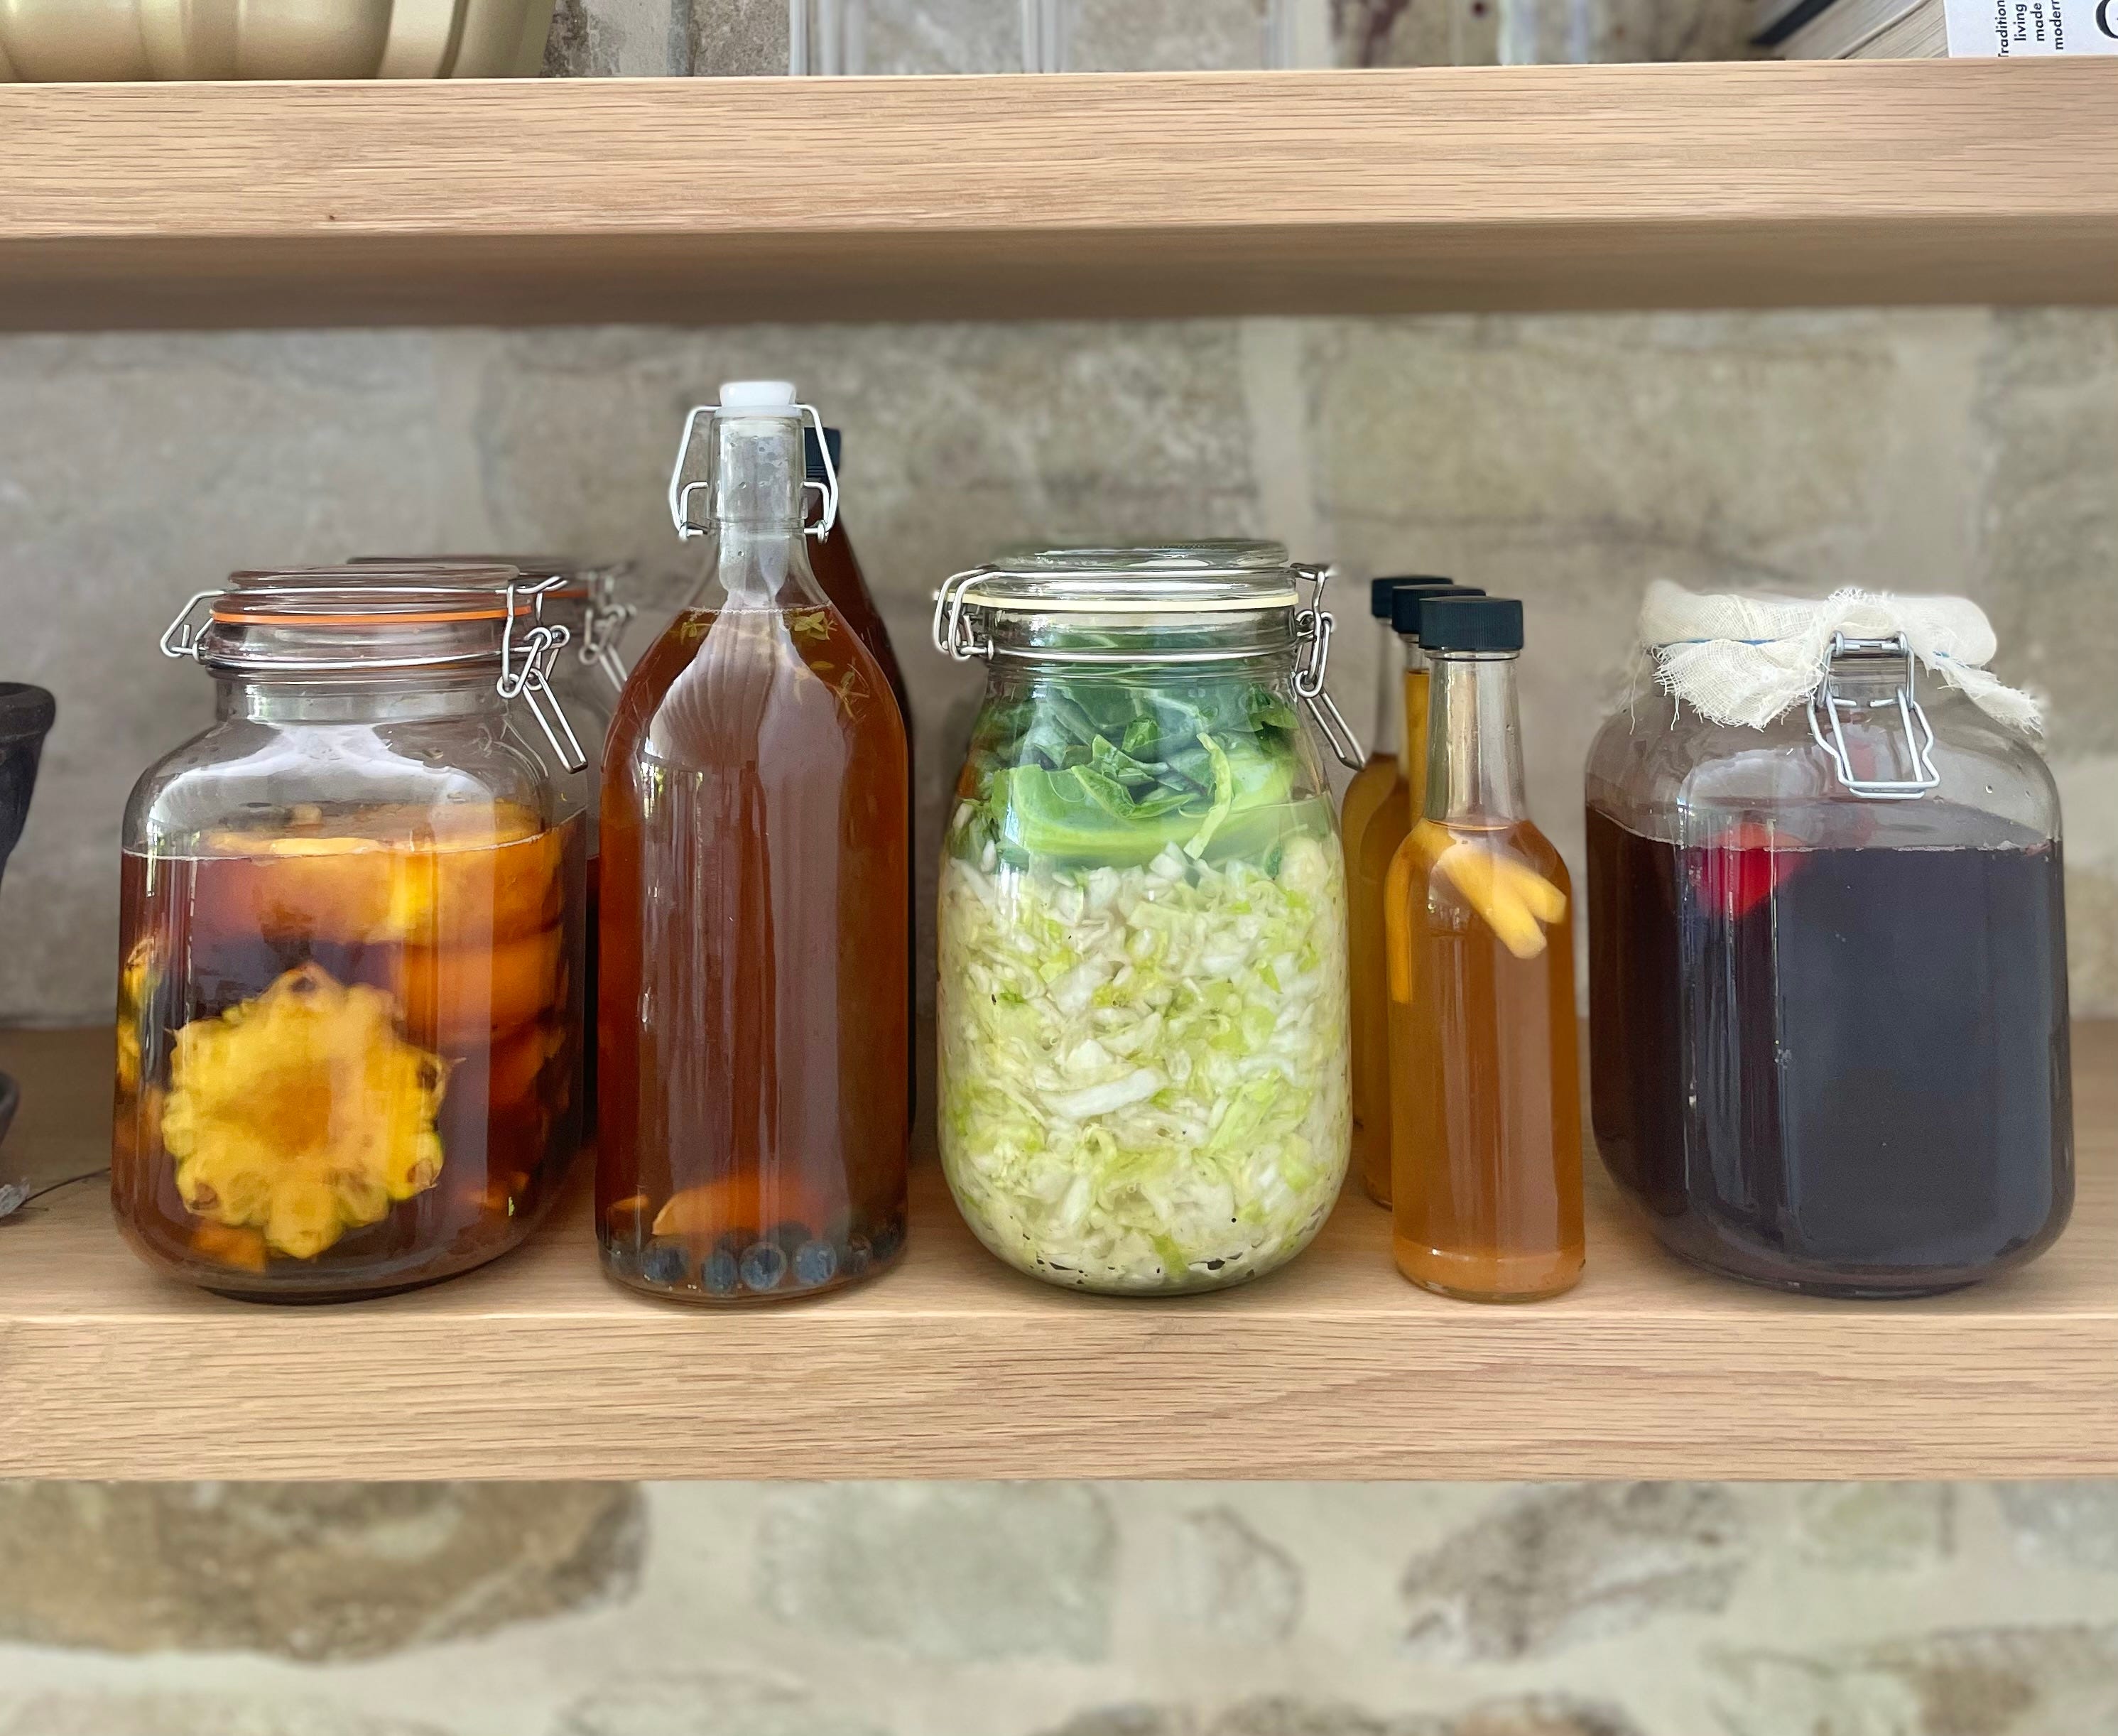
Sauerkraut, kimchi and kombucha
I can’t recommend fermenting foods at home enough! It’s a beautiful process that not only transforms the ingredients we use, but also brings a wealth of benefits to our table and our health. Before we kick off with the recipes, here’s a few good reasons to start fermenting at home.
It’s a great way to make food even more delicious. Fermentation transforms the flavours of food, creating deep, and often surprising taste profiles. I find it just makes food taste better, giving it life, zing and an exciting complexity.
It’s a great way to reduce waste. The process of fermentation creates an acidic environment that naturally preserves food, extending its shelf life without the need for artificial preservatives, so we waste far less food and money. You also make a pretty decent saving by the transformation itself, you’re essentially value adding something from scratch.
Good for our guts. Fermentation can naturally boost the levels of essential vitamins, particularly B vitamins and vitamin K2, enriching our diet without any synthetic additives. Plus it introduces beneficial bacteria that are fantastic for gut health, playing a crucial role in boosting our immune system and overall well-being.
Improves digestibility. Through fermentation, complex molecules are broken down, making foods not just more digestible, but also allowing our bodies to absorb nutrients more effectively.
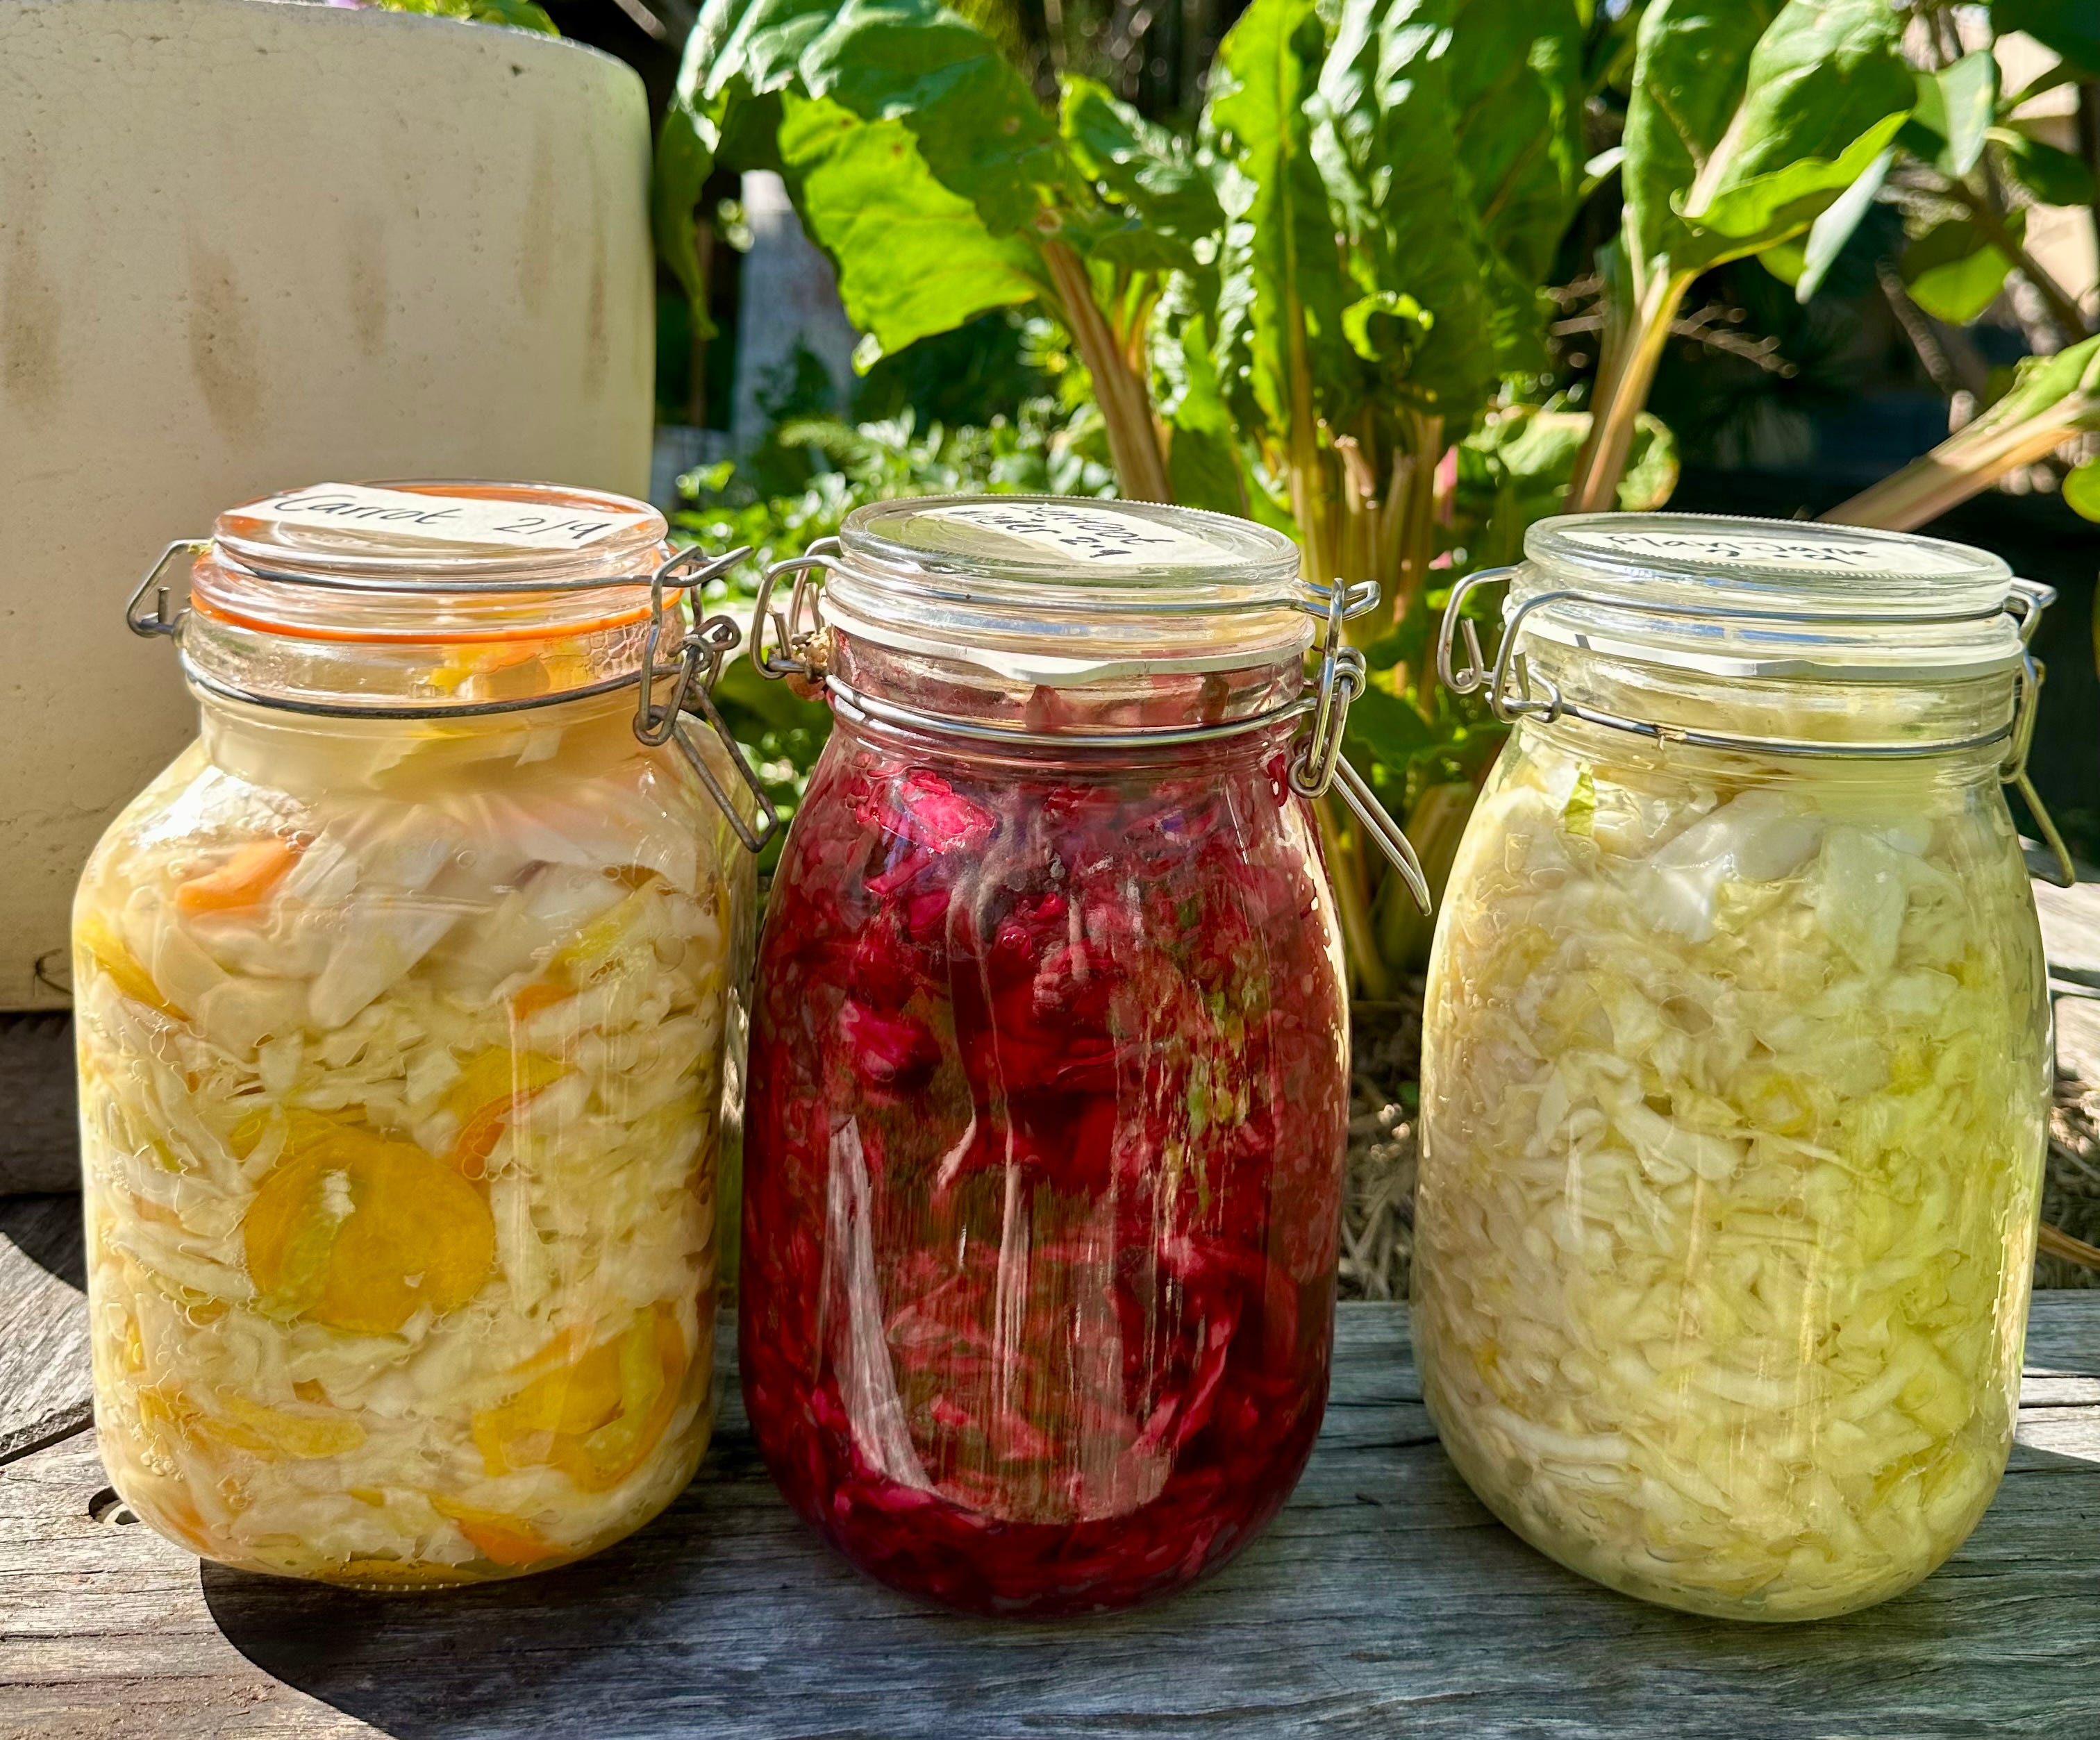
Now the world of fermentation is vast; wines, cheeses, miso, soy, beers all the good things that you may get into down the track. But let’s keep things really easy for now! A great place to start is vegetable ferments, to dip the toe in and get a bit of confidence. Let’s begin with Sauerkraut, or fermented cabbage. We go though a jar a week in our house! I’ll have some with eggs in the morning, as a side for proteins, or in salads- the kids love it. I typically use white cabbage for this but often add other vegetables such as carrot, celery, red cabbage or beetroot.
I also like to incorporate other spices too, such as juniper, fennel seeds, clove and cinnamon. If you’re adding spice, I’d recommend to use a little less than you think. The process really draws out the flavour of the spice which sometimes can overpower the flavour of the vegetable.
Alright let’s begin!
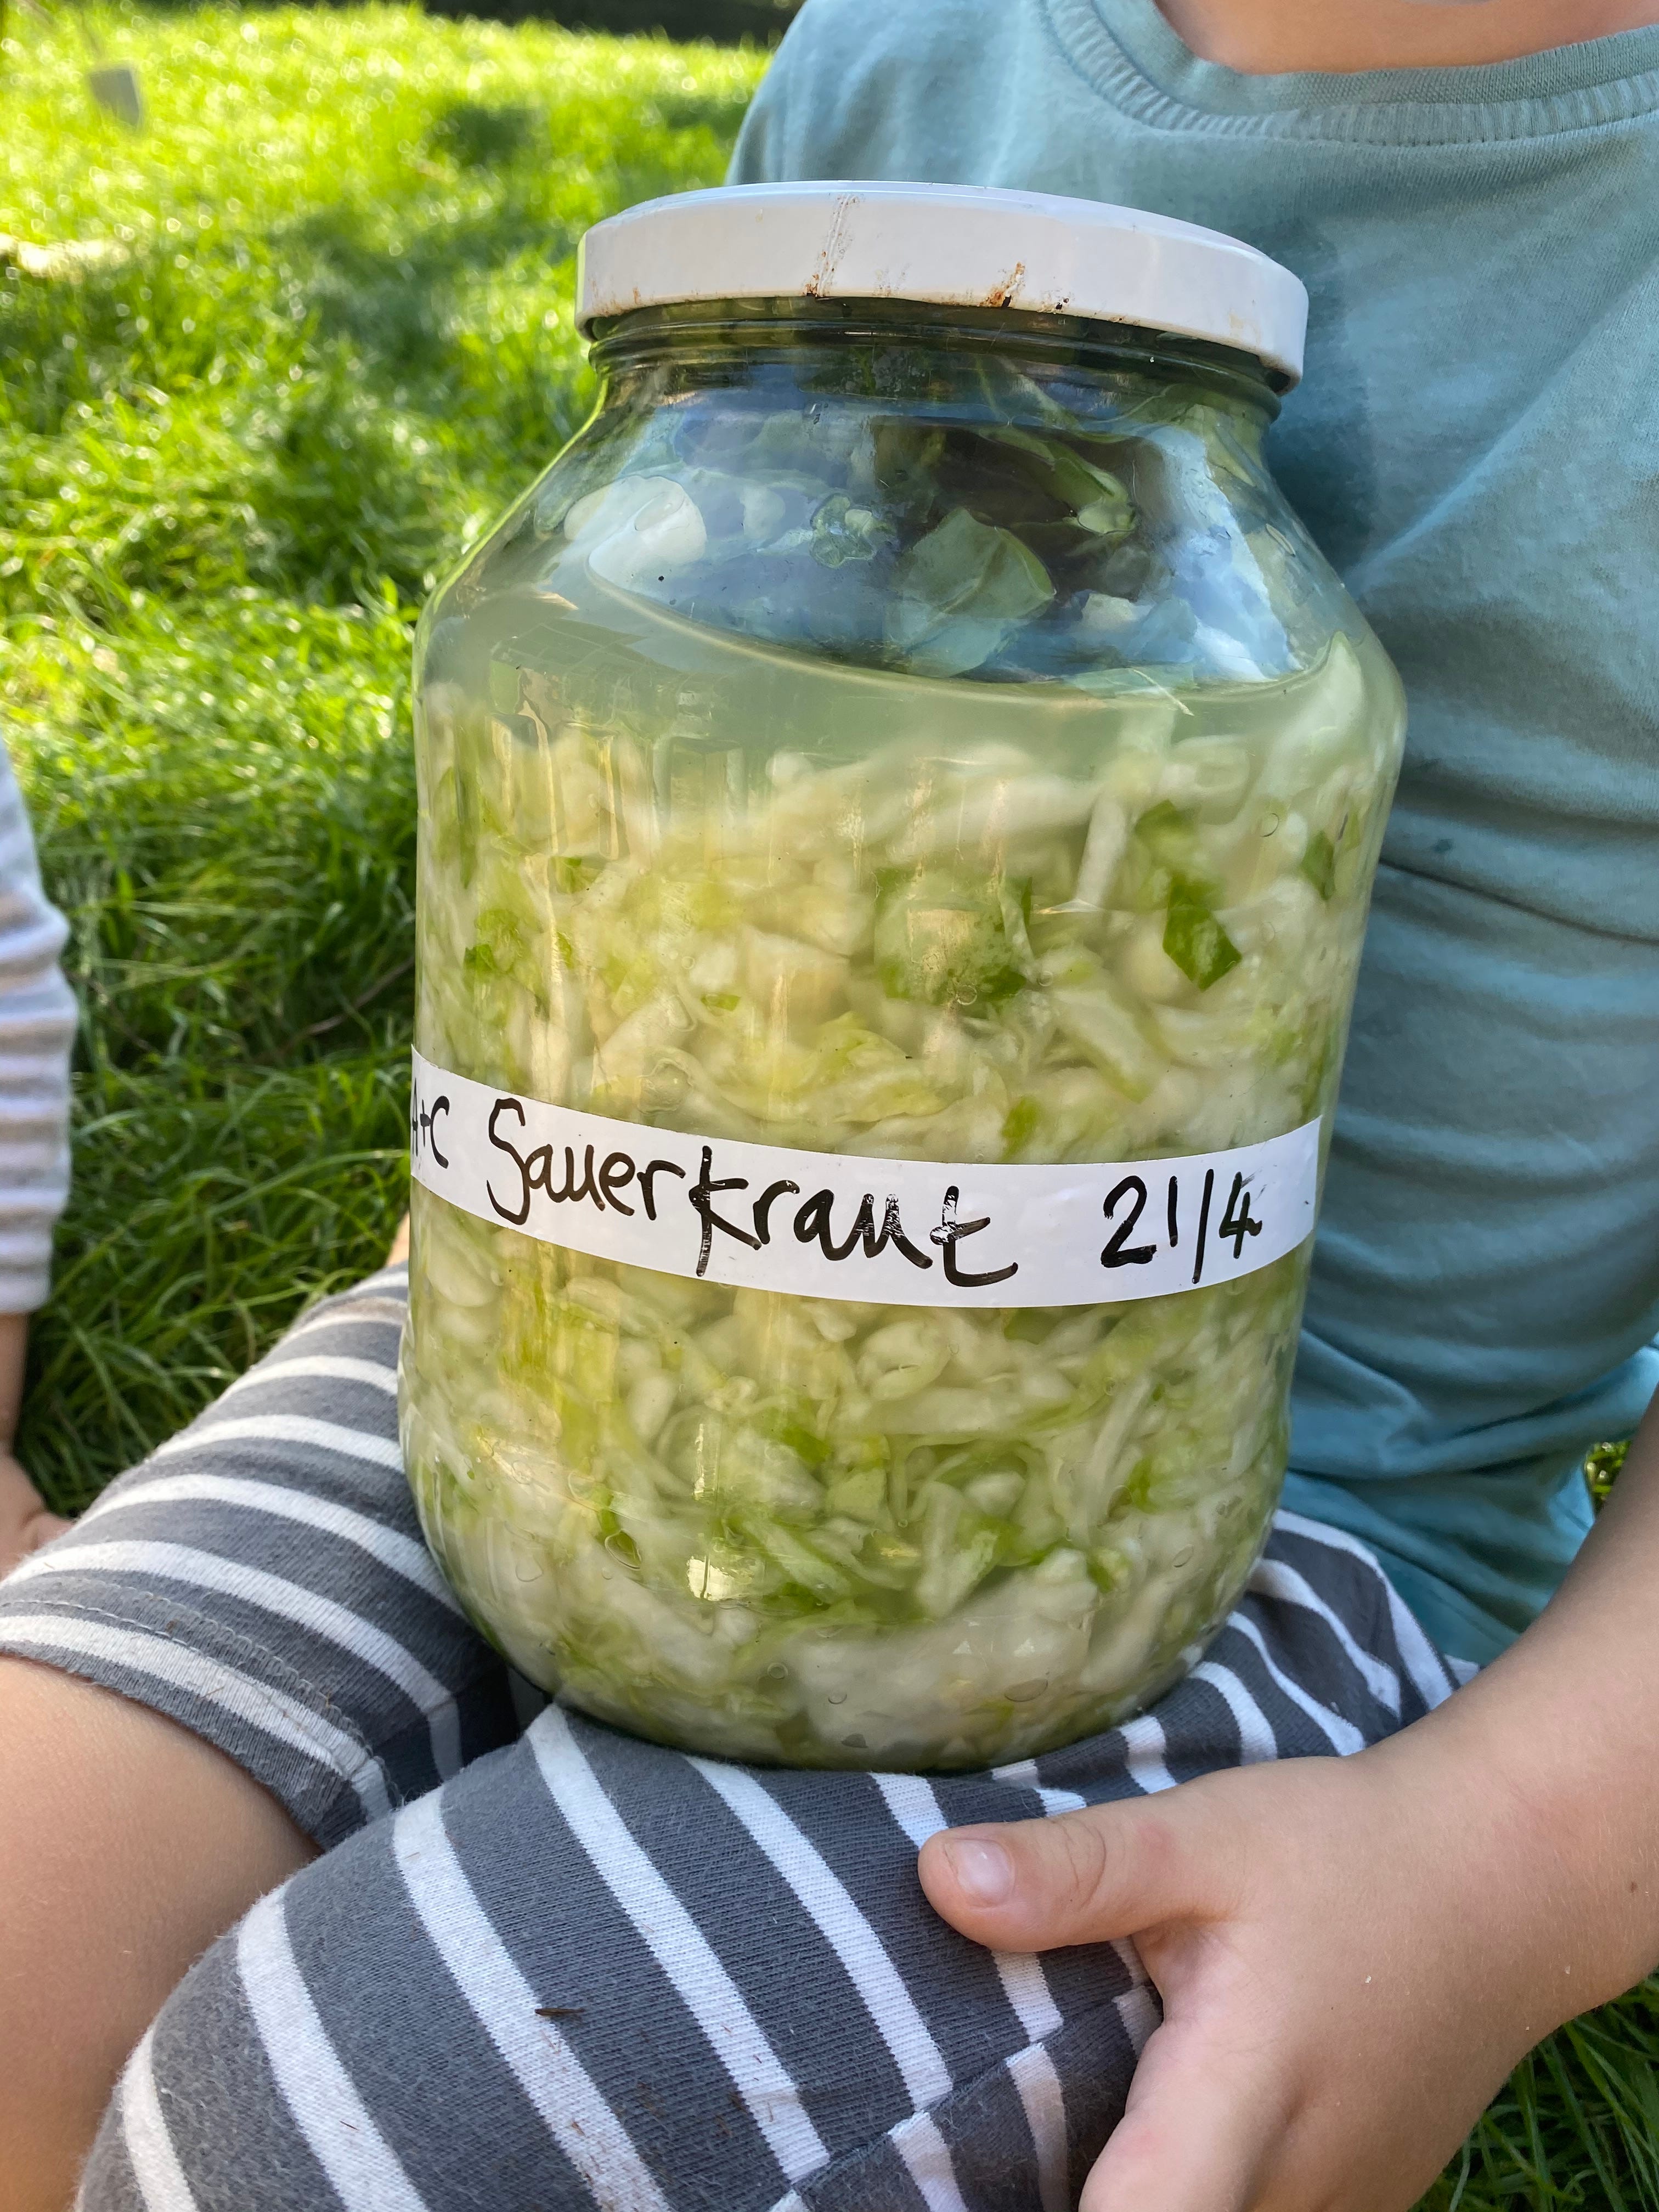
Basic Sauerkraut
Ingredients
1 cabbage
Salt
(About 2% of the weigh of the sliced cabbage, so a 2kg cabbage will require 40g of salt)
Prep time 30 mins/ fermentation 5 - 7 days/Easy
🫙🫙
Method
Pick away the outer leaves of the cabbage, and reserve for later. Give them a rinse if need be. Cut the cabbage into quarters and remove the core, then shred into thin slices
Place the cabbage into a large bowl then add the salt. Give the veg a really good mix. The trick here is to mix it fairly vigorously so you mix in the salt and slightly break the cells of the cabbage which will release it’s natural juices. Leave for 15- 20 minutes for the salt carry on doing it’s thing.
Grab a clean jar or 2, give the liquid a little taste, if it tastes a little bland add a little more salt. Add this stage you can add a little spice if you like.
Take the veg and stuff it into a glass jar, as you push it in you’ll notice more liquid being released. Fill it all the way to the top, ensuring the liquid covers the cabbage.
Take one of the outer leaves from before, fold it up and place it on top. This will hold down the kraut when you close the lid.
Try not to over fill the jars. Although I am often guilty of this as we go through so much, it’s way safer to fill two thirds of the way, otherwise, when burping the jar there can be a little spillage.
Leave it on your bench on a little tray to ferment. (ideally out of the sun)
During the fermenting process be sure to open the lid every 24 hours to release the build up of gas. (Do this in the sink or outside for the first few days if you filled to the top!)
Once you’re happy with the strength of the kraut, pop it in the fridge ready for that next little snack. Mine usually takes about a week to ferment.
Kimchi is a spicy, salted, fermented cabbage side, great with fried eggs, added to rice, on a savoury pancake, or on a cheeky Bimimbap.
Kimchi
Prep time 30 mins/ cook time 10 minutes/ ferment time 4 - 5 days/Fairly Easy
Recipe
100g course sea salt
2lt water
1 wombok
2 carrots
100g rice flour
800ml water
4 tbsp fish sauce
5 cloves garlic
4-5 com knob of ginger
100g gochugara (Korean chili powder)
5 green shallots

Method
Day 1
Mix the 2lt water and salt.
Slice cabbage, cover in brine, leave in fridge overnight.
To make chili paste, boil 800ml of water, add rice flour, cook whilst stirring until it resembles wallpaper paste.
Remove from the heat, add chili, fish sauce, grated garlic and ginger. Leave to cool.
Day 2
Strain cabbage, squeeze out all excess moisture.
Pop in a big bowl, fold in chopped green shallot and chili paste.
Fill a jar or two.
Leave on your kitchen bench for to ferment.
This should take around 4- 6 days, longer if you want it to taste like you’re licking a battery!
Carefully open the lid daily to release excess gas. Do this outside or over the sink.
Sliced daikon, baby radish or seaweed works well too.
How to make Kombucha
Another staple in our house is kombucha, a fermented sweet tea that’s super refreshing and good for your gut! It’ll take around a week to ferment. When it does, bottle it up and store in the fridge or give it a second ferment and make it fizzy. (Explained below)
SCOBYs (Symbiotic Culture of Bacteria and Yeast), can be found online, from friends that make kombucha, or alternatively you can make your own.
Just follow the step by step at the end of the recipe.
Here’s a list of equipment you’ll need:
A large pot
5 lt glass jar or other non-reactive container
Clean cloth or coffee filter
An elastic band
Funnel and bottles for storing finished kombucha


Basic Kombucha Recipe
Ingredients:
4 of filtered water
400g of sugar
8 bags of black or green tea (or 2 tablespoons of loose tea)
500ml of starter tea (previously brewed kombucha)
1 SCOBY
Method
Bring the water to a boil in a large pot.
Remove from heat and dissolve the sugar in the hot water.
Add the tea bags or loose tea and let steep for 4 minutes.
Strain and leave to cool.
Pour the sweet tea into your glass jar.
Add the starter tea to the jar, then gently add the SCOBY to the jar.
Cover the jar with a clean cloth or coffee filter and secure it with a rubber band.
Let it ferment for 7-10 days. Ideally around 20 - 24 deg out of the sun.
After 6 days, taste the kombucha. If it has reached a flavoru you like, it's ready to bottle.
If you prefer it tangier, let it ferment for a few more days.
Remove the SCOBY and 2 cups of kombucha to use as starter tea for your next batch.
Using a funnel, pour the kombucha into bottles, leaving some space at the top. You can add flavourings like fruit, herbs, or ginger at this stage if you like.

Second Fermentation (optional)
Keep reading with a 7-day free trial
Subscribe to How to be a better cook to keep reading this post and get 7 days of free access to the full post archives.